4 minutes
Upgrading My Home Network: Segmentation, Security, and Full Control (Part 1)
Introduction
 |
|---|
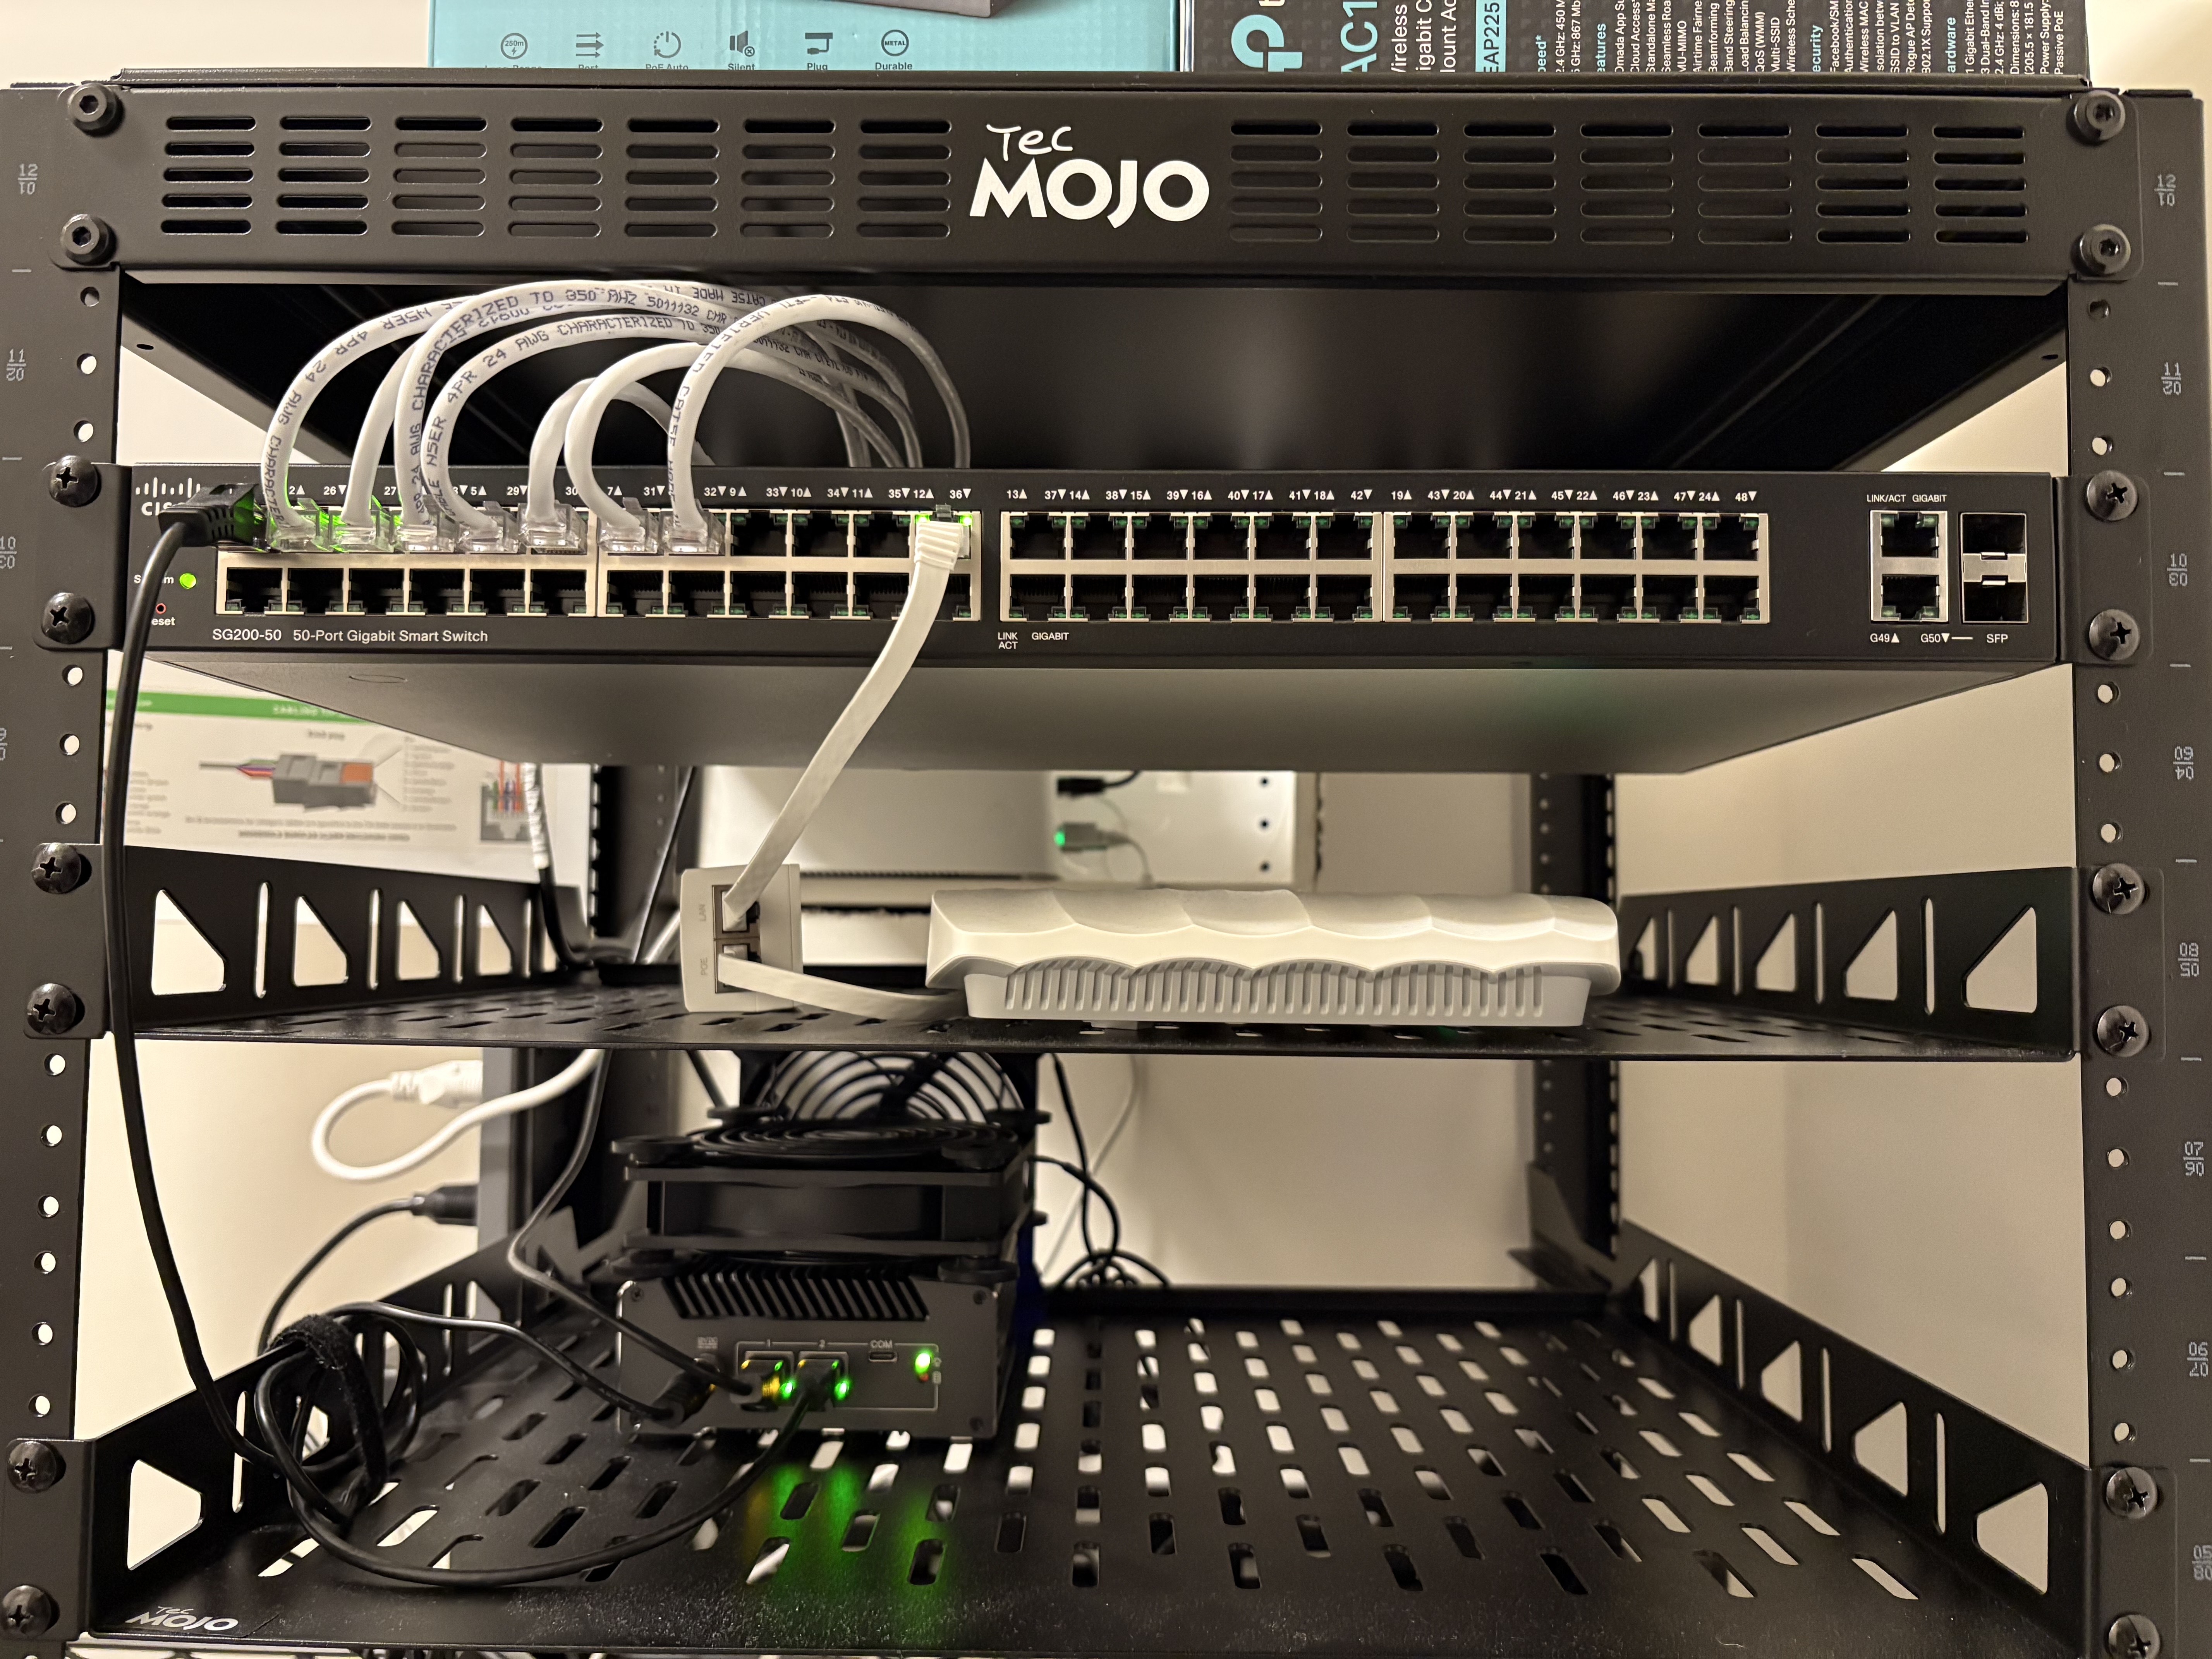
| Not the cleanest setup/cable management but it’s a quick overview of how it’s all connected. |
I recently upgraded my home network from a basic “plug-and-play” setup into something more structured, secure, and scalable.
The goal wasn’t to over-engineer—it was to build a reliable, segmented network that:
- Improves security across devices
- Gives me full visibility into traffic
- Supports future expansion (security cameras, services, lab environments)
- Stays power-efficient and cost-conscious
This post walks through everything I did—from hardware purchases to configuration.
Goals
- Separate devices using VLANs (no more flat network)
- Route all traffic through a dedicated firewall
- Implement DNS filtering and monitoring
- Prepare for future expansion (PoE cameras, NVR, services)
- Keep costs low using used + budget-friendly hardware
Hardware Overview
I focused on finding the best value instead of buying everything new.
Core Network
- Firewall Router: Re-certified Protectli V1211 - 2 Port Intel® N5105 (running OPNsense)
- Main Switch: Used Cisco SG200-50 Business Switch (eBay find – $20)
- Access Point: TP-Link AC1350 (Omada, VLAN-aware SSIDs)
- TP-Link TL-SF1005P 5 Port PoE Switch (Future Use): For security cameras
- Rack: Tecmojo 12U open frame network rack
Cooling Upgrade (Small but Effective)
The Protectli runs warm under load, so I added:
Result
- Idle temps dropped from ~40°C → ~30°C
Cheap fix, real impact.
Network Architecture
High-Level Layout
        (IP Passthrough Mode)
                  |
          [ OPNsense Firewall ]
                  |
          ---------------------
		          |
		   [ Cisco Switch ]
		          |
	   -------------------------------------
	   |       |           |               |
      [AP]  [Main PC] [IoT Devices] [Future PoE Switch]
ISP Modem → Firewall (IP Passthrough)
Instead of double NAT, I configured my ISP modem in IP Passthrough mode:
- Public IP is assigned directly to OPNsense
- ISP device acts as a bridge
- All routing/firewall decisions happen on my firewall
Why this matters:
- Full control over traffic
- Cleaner networking (no NAT conflicts)
- Required for advanced setups like VPN and segmentation
VLAN Segmentation
I designed the network around separation of device types:
| VLAN | Purpose |
|---|---|
| 99 | Management |
| 10 | Office / Lab / Gaming PC |
| 20 | Security Cameras (future) |
| 30 | IoT Devices |
| 40 | Family Wifi |
Why This Matters
- IoT devices don’t need access to my main systems
- Future cameras stay isolated
- Management interfaces are restricted
- Reduces lateral movement if a device is compromised
Firewall Configuration OPNsense
The firewall is the brain of the network.
(OPNsense)
Key Rules
- Block inter-VLAN traffic by default
- Allow only required access (least privilege)
- IoT VLAN → Internet only
- Management VLAN → full access (restricted to me)
DNS Setup (Privacy + Control)
I configured Unbound DNS on OPNsense with:
- DNS over TLS
- Upstream provider: Quad9
Why Quad9?
- Blocks known malicious domains
- Privacy-focused
- No logging of personal data
Result
- All devices automatically use secure DNS
- No need to configure each device manually
Intrusion Detection (IDS)
Enabled IDS on OPNsense:
- Monitors traffic for suspicious patterns
- Adds visibility into what’s happening on the network
This is more about awareness than blocking (for now).
Remote Access with Tailscale and RustDesk
I set up Tailscale for secure remote access and use RustDesk for remote desktop connections.
Benefits
- Access my network from anywhere
- No port forwarding required
- Encrypted mesh VPN
- Secure remote desktop access without exposing services
This approach removes the need to expose services directly to the internet while still allowing full remote access when needed.
For more on this setup, see Tailscale’s guide: https://tailscale.com/docs/solutions/access-remote-desktops-with-rustdesk
Wireless Setup (VLAN-Aware)
Using a TP-Link Omada AP:
- Multiple SSIDs mapped to VLANs
- Family Wi-Fi → VLAN 40
- IoT Wi-Fi → VLAN 30
Result
Wireless devices are segmented just like wired ones.
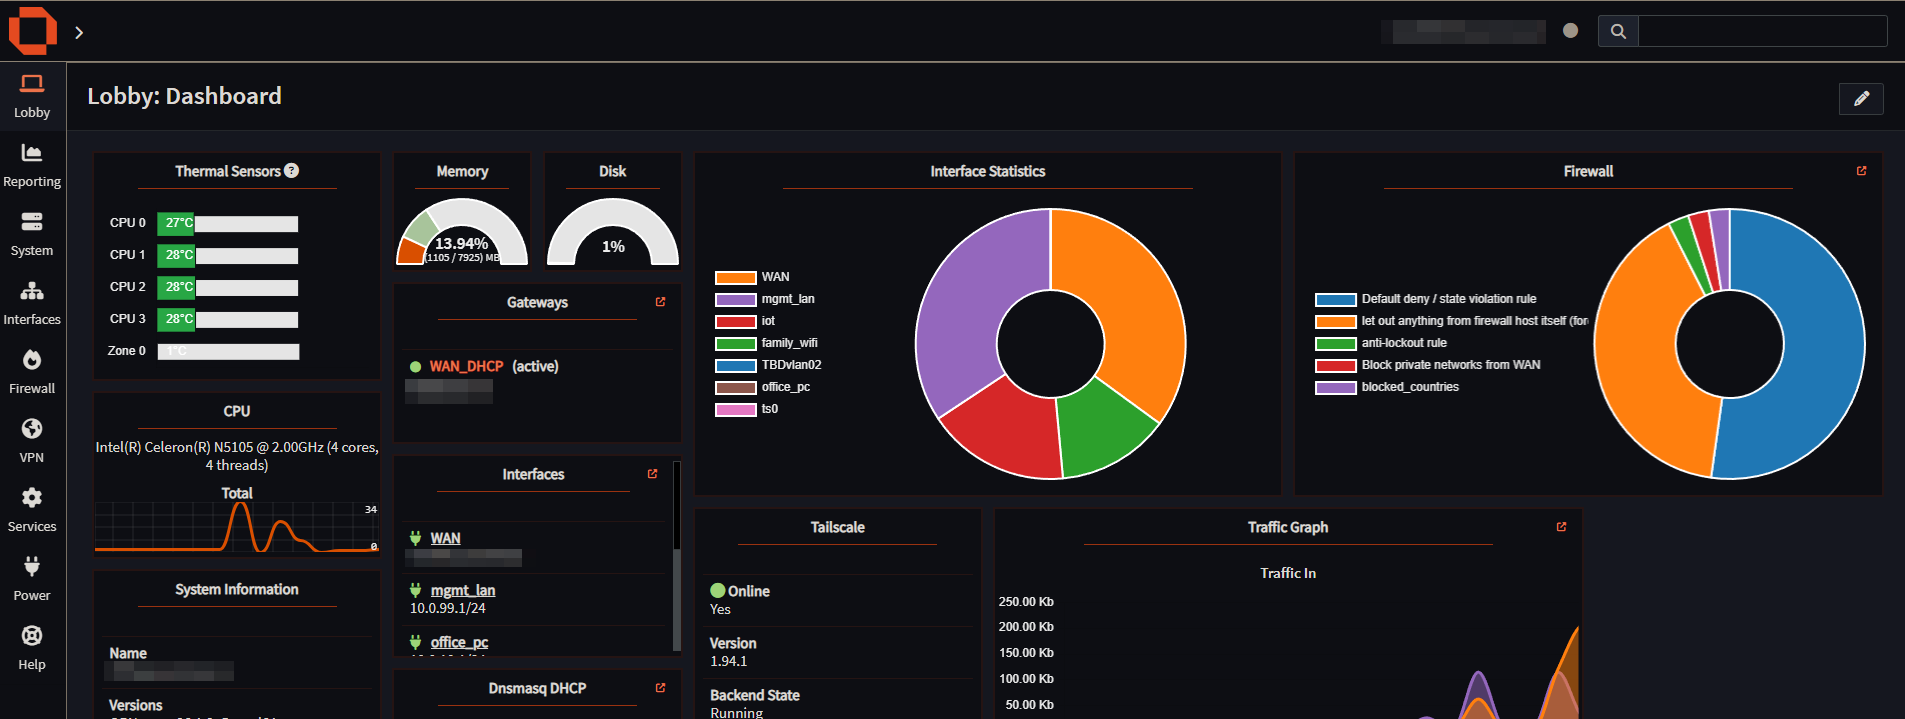
Network Monitoring
Built-in OPNsense tools give visibility into:
- Traffic flows
- Active connections
- Bandwidth usage
This is critical for:
- Troubleshooting
- Detecting unusual activity
- Understanding network behavior
Future Upgrades
- UPS (Battery Backup)
- Protect against outages
- Safe shutdowns
- Patch Panel
- Cleaner cable management
- Easier scaling
- Security Cameras + PoE Setup
- Dedicated VLAN (already planned)
- Isolated from main network
- Mini PC for NVR
- Run Frigate (AI-based detection)
- Keep separate from firewall
- Additional Open-Source Services
- Still exploring based on needs
Lessons Learned
- You don’t need expensive gear to build a solid network
- Segmentation is one of the biggest upgrades you can make
- Cooling matters more than expected on small devices
- Planning VLANs early saves time later
- Used hardware can deliver massive value
Final Thoughts
This upgrade turned my home network into something:
- More secure
- More organized
- Ready to scale
And most importantly—it gave me full control and visibility over everything connected to it.
homelab networking firewall vlans frigate poe-security-cams cisco-switch opnsense
728 Words
2026-04-15 21:45